DAM Tutorial: Curation of Digital Assets
TACTIC has the ability to handle all types of digital assets and manage them within an asset repository. In this tutorial, you will ingest digital assets into the TACTIC repository and define a collection for further organization. The goal is to demonstrate how TACTIC can manage any kind of digital asset required for your business and maintain these assets within a centralized company repository. TACTIC has a built-in workflow engine that supports everything from highly complex workflows to simple, parallel workflows. Optionally, you can use a quick and easy workflow to manage approval of assets stored in the repository.
Southpaw typically recommends our customers start with simple workflows and build out to more complex workflows over time. Of course, our Services Team is here to support all of these efforts.
Business Use Case
A media company seeks to deploy a solution to modernize their tools and consolidate all digital assets. Digital assets originate from a number of different sources - large wire services, smaller agencies and freelancers. Initially, all original assets are ingested manually into TACTIC through the web interface. Larger volumes of assets can be loaded from watch folders or batch scripts.
A content administrator will use these functions:
- Ingest assets (photos, images, video) and add keywords to the assets as needed.
- Use collections to organize assets for editor review.
An editor will use these functions:
- Use collections to organize assets.
- Move approved assets to the shared asset library
- Download assets for delivery to the publishing process.
Steps:
Content Administrator Steps
Step 1: TACTIC trial users must first load the tutorial they would like to try. To do this, go to the grid icon in the upper left corner. Select 'Tutorials' from the drop-down menu. A Tutorials tab will open showing a list of tutorials to choose from. For this particular tutorial, select 'Tutorial02 - Digital Asset Management'. A 'Tutorial Loaded' message will appear once it has been succesfully loaded in your personal trial enviorment.
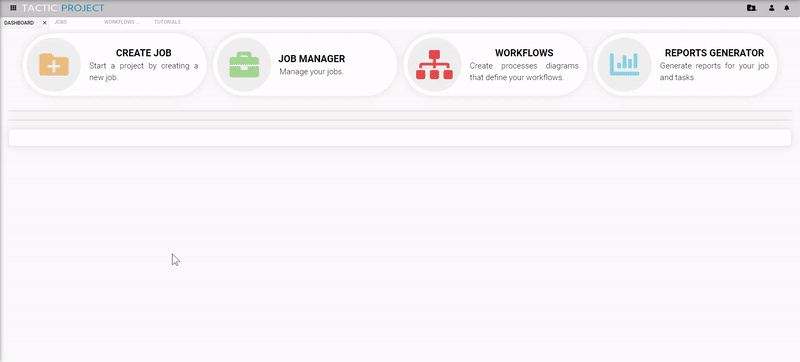
Step 2: Click on "Create Job" either on the Dashboard or on the "Plus" or on the sidebar

Step 3: Click on “Photo Selection”. Add information about the job, for example; 'Content for new article'

Step 4: Use asset upload job to Ingest desired digital assets into TACTIC. Once the upload is complete, reload the JOB ASSETS tab using the right click menu. Your assets will appear beside the "Reference" and "Final" folders.

Step 5: Add custom keywords to digital assets. There are two ways to do enter keywords. One quick way is to right click on the asset, and select Edit from the dropdown menu.

Another way to add keywords is to select the square icon on the top right of the asset. This option also allows you to also add selected keywords from metadata, view versions of an asset and add any special notes to an asset. Keywords can be added or removed at any point in the lifecycle of an asset.

Step 6: Add a new collection to the job assets library. To add a new Collection, go to the grid icon located in the horizontal menu bar near the middle right of the screen. Select the 'Create new Collection' option.

A 'Create New Collection' form will appear. Fill in the Name of the new Collection and any other desired details.

Once you have pressed ADD, the new Collection will appear in the left hand sidebar within the Job Asset Library. In this example, the new Collection is called "Newspaper images".

Step 7: Move assets to new collection. Once your Collection folder is created, you can then move selected images into the new folder.

Note: To add more assets to your job, select the up arrow icon on the horizontal sidebar near the screen right.

Editor Steps
Step 8: Add new collections and organize assets as needed. See step 5 for reference.

Note: To remove an asset from a Collection, select the minus button '-' on the far right. Note that if you select the trash icon, it will remove the asset from library entirely.

Note: To add notes to an asset within the Collection, go to the Switch Layout icon on the middle left of screen, then select "Table Layout" from the dropdown list. This list format allows you to enter notes and view notes.

Step 9: Move approved assets to the shared assets library. Once an asset is considered final and ready for publish or consumption, select the file from the library, then select the 'Push to Asset Library' button on the far left.

A 'Push Files' form will appear. From here, you can enter more keywords if desired using the Ingest Settings on the right. Press the 'COPY FILES' button.

Step 10: Press complete task. Select 'Complete' from the Status dropdown in the upper right of the screen. The complete status will also show up in your list of Jobs.

Digital Asset Management Workflow
A “Content Approval” workflow is available in the DAM Tutorial project Tutorial Workflow. It is a simple workflow to manage upload and approval of assets.
See Tutorial 1, Step 2: Start a Project by Creating a Job to create and use jobs with workflows. You can select the “Content Approval” workflow from the dropdown field.