Workflow
Create a new workflow
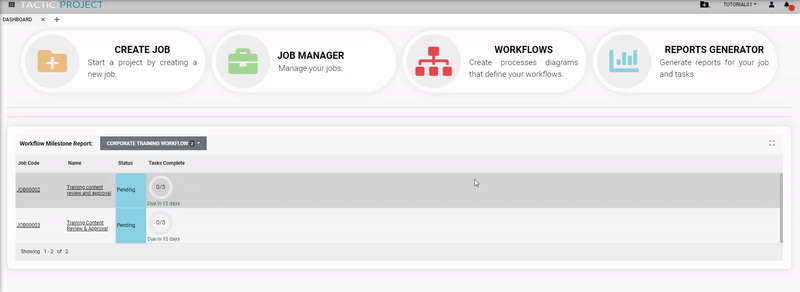
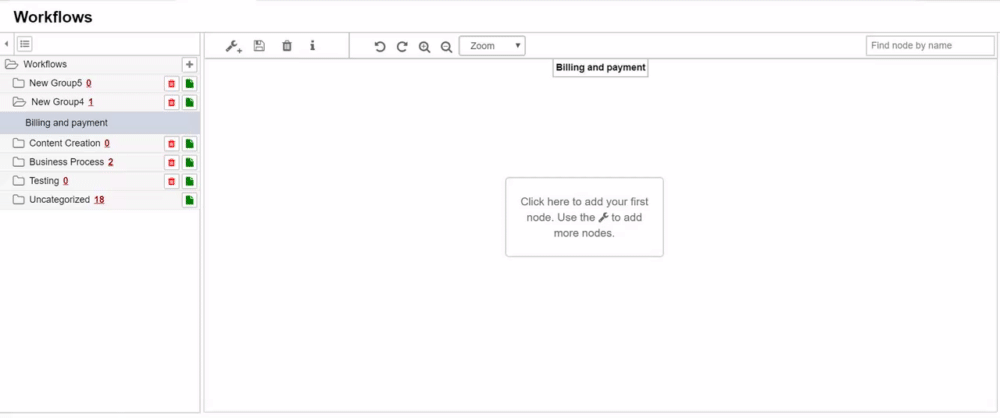
From the TACTIC Project Dashboard, select the WORKFLOWS button.
This will open an Add New Workflow form where you can enter some preliminary information for the workflow. All of this information is optional, although it is recommended to give your workflow a name and description.
The user may add the workflow process names within the Processes field in the form, or build the workflow interactively within the TACTIC workflow canvas.
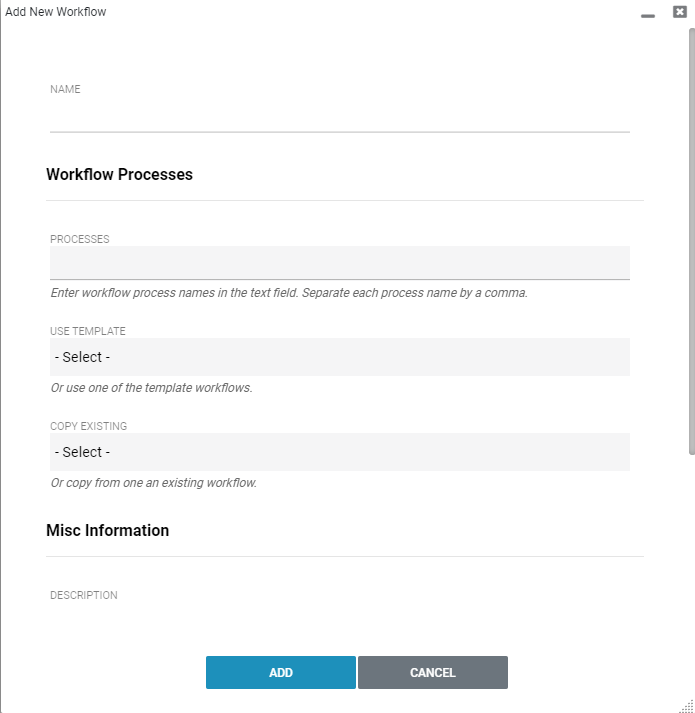
Click the ADD button at the bottom of the form to create the new workflow.
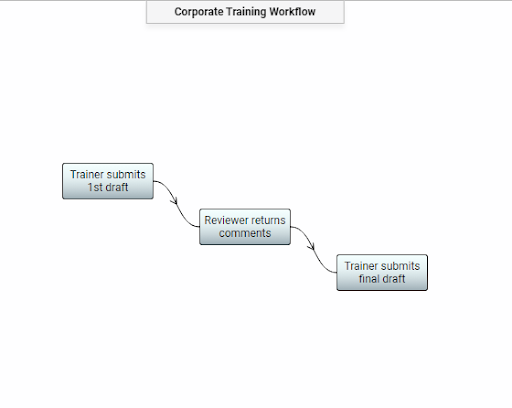
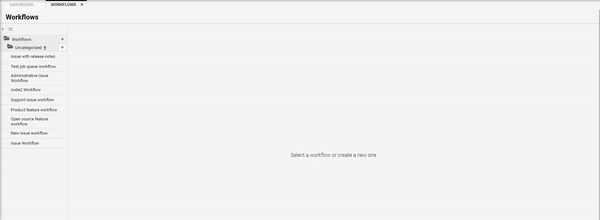
To view the workflow you just created, navigate to the Uncatorized folder, then select the desired workflow from the left side bar. Your workflow will appear in the TACTIC workflow canvas.
If creating a workflow from a blank TACTIC Workflow canvas, click the starter box to begin adding nodes to your pipeline.
When hovering over the node, connector hooks appear at each end of the node. You can add more nodes by drawing connections.
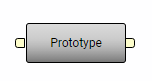
To connect a node to another, select one end of the node connector, hold and drag. An output line will appear showing a forward direction. Drag the connector line to the desired input node.
!!! TIP: You can drag from the output handle and releasing the mouse button will create a new node.
Reveal the node panel using the plus ‘+’ icon. Clicking on a desired node will place the new node in the upper left of the canvas. Drag and connect the node as required. Dragging a node directly from the sidebar to the desired spot on the canvas is also an option.
!!! TIP: To add a node in between two nodes, first shift/select the nodes you want the node to sit between, then drag the new node in between the selected nodes.
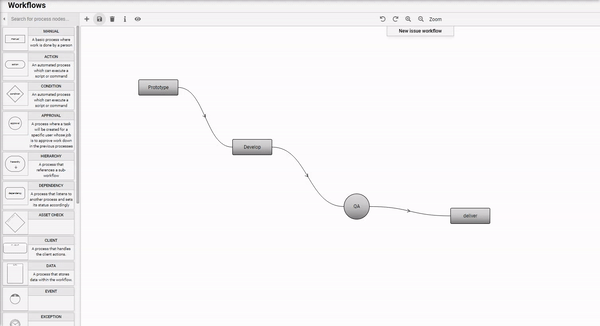
Process Nodes
A workflow is composed of a set of connected process nodes. Each process nodes have inputs where information is received from previous nodes and outputs which send output to the next process nodes.
Each process node has properties that determine how it behaves in the workflow. Detailed process node functionality is available on our Process Node Process Node documentation page.
Process Node Panel
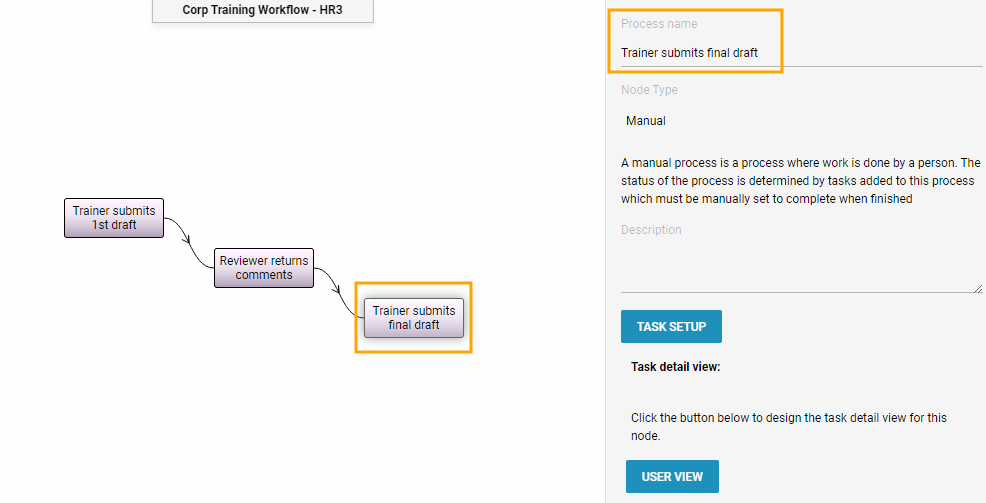
When the new node is selected on the canvas, a node panel will appear in the right sidebar providing information about the node and features to edit the node functionality. Here you can change the Process name, Node Type and Description.
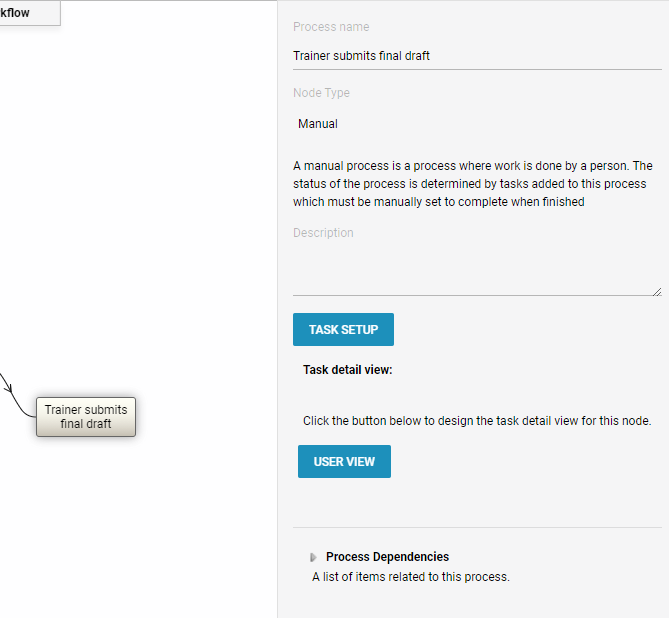
Process Name: Change the node name in this editable field
Node Type: If a node type change is preferred, select the node type in the right side panel and a list of node types will be displayed in a drop down.
Description: The ability to enter a description of your node
Process Info
The TASK SETUP button on the Process Node Panel provides a pop up which includes the ability to change the functionality of that specific node.
All process nodes have settings that will customize their behavior. When a process node is selected, an info box will scroll into the screen on the right side. This info box will contain the settings for this particular workflow. The settings available will be specific to the type of process node.
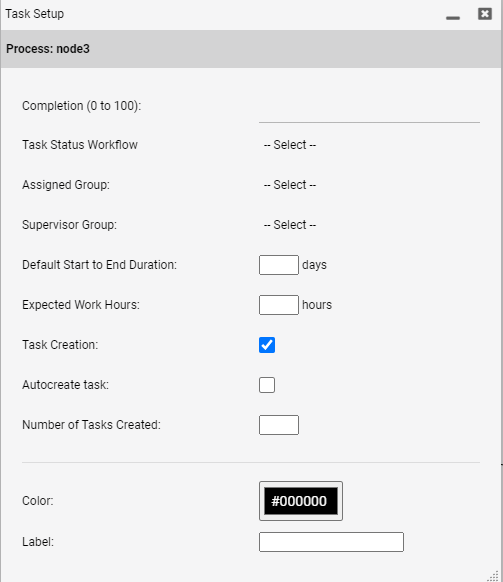
Assigned Group dropdown: The group associated with certain processes.
Supervisor Group: The Supervisor group associated with certain processes.
Default Start to End Duration: The schedule automatically gets generated if this is not filled out. Start date being the day you save the form.
Expected Work Hours: Enter the amount of hours allocated for this task.
Task Creation: Determines whether tasks should be created at all on a process node.
Autocreate task: Determines if tasks should automatically be created on job creation. Create multiple tasks per process node. For example, multiple resources are assigned to a process, each gets a task for job tracking. See TACTIC API documentation for more detailed examples.
Number of Tasks Created: A task is created when a job is created. Users in some cases may not want to create tasks when jobs are created.
Color: Change the color of the node by using the colour picker tool.
Scheduling
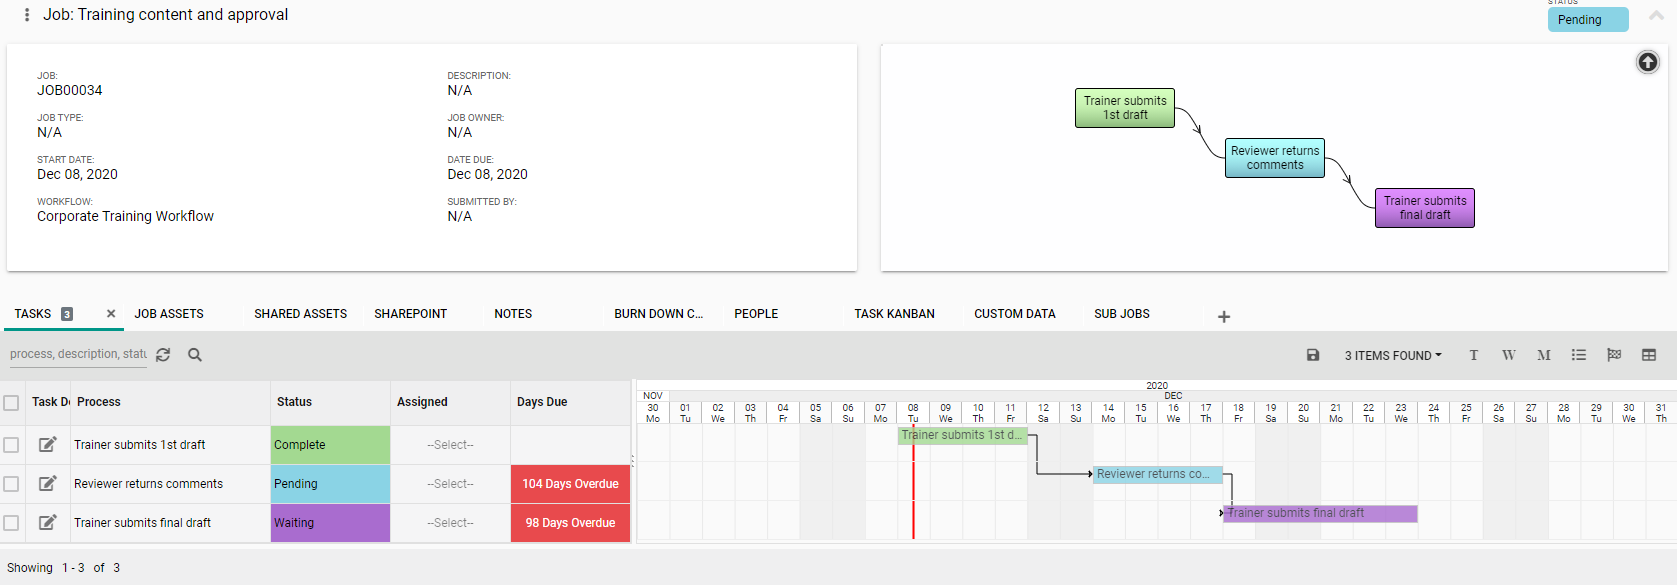
When a workflow is assigned to a job, it will automatically create a dependent schedule based on the information provided in the workflow definition. Each manual node will have a task created. The duration of the task is specified in the workflow definition.
The created schedule is a first pass and indicates approximately when the project will be completed. It is possible to look at the job detail view to adjust the schedule based on particular criteria for the current job.
Selecting the eye icon on the menu bar located on the top left of the Workflow canvas, will show the created schedule in a gantt pop up.

The schedule can also be viewed in the Job Detail view.
To adjust the schedule, grab the end of each schedule marker and drag to the desired date. Shift and select all schedule entries to move them at the same time. Toggle between years or months above the gantt.

Workflow Editor Tools
Rename a Process Node
To name a new node, right click and click “Rename Node”.
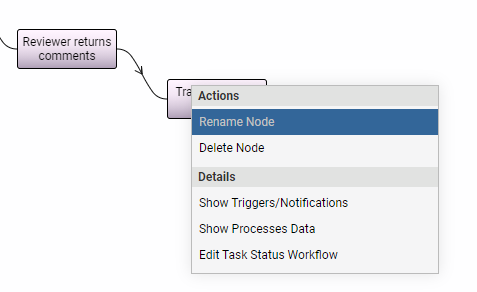
Another way to rename a node is through the Process Node Panel that appears on the right when the desired node is selected.
Searching process nodes
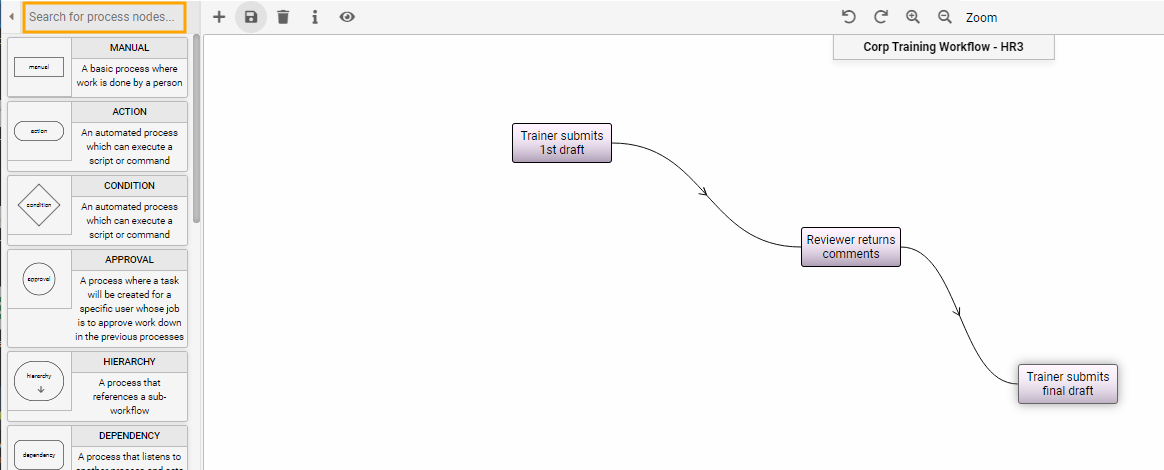
To search for a process node by name, enter the name into the text input field on the top left of the canvas, above the list of nodes.
Managing the Workflow Library
The sidebar on the right of the workflow editor displays a list of all the workflows in the system. These workflows can be organized into categories. See Workflow Manager Workflow Manager documentation for more detailed information.